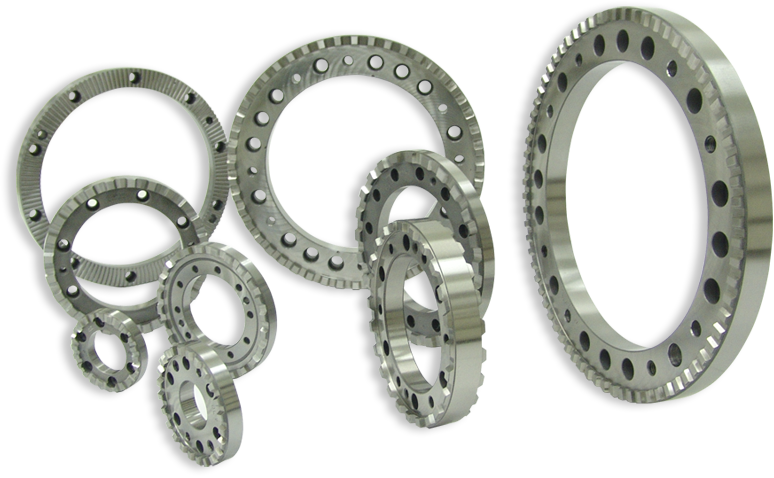
Curvic couplings are the core part for joining shafts, which are widely used in CNC lathe turrets, machine tools, robots, gas turbines, and high-tech products such as aircraft.
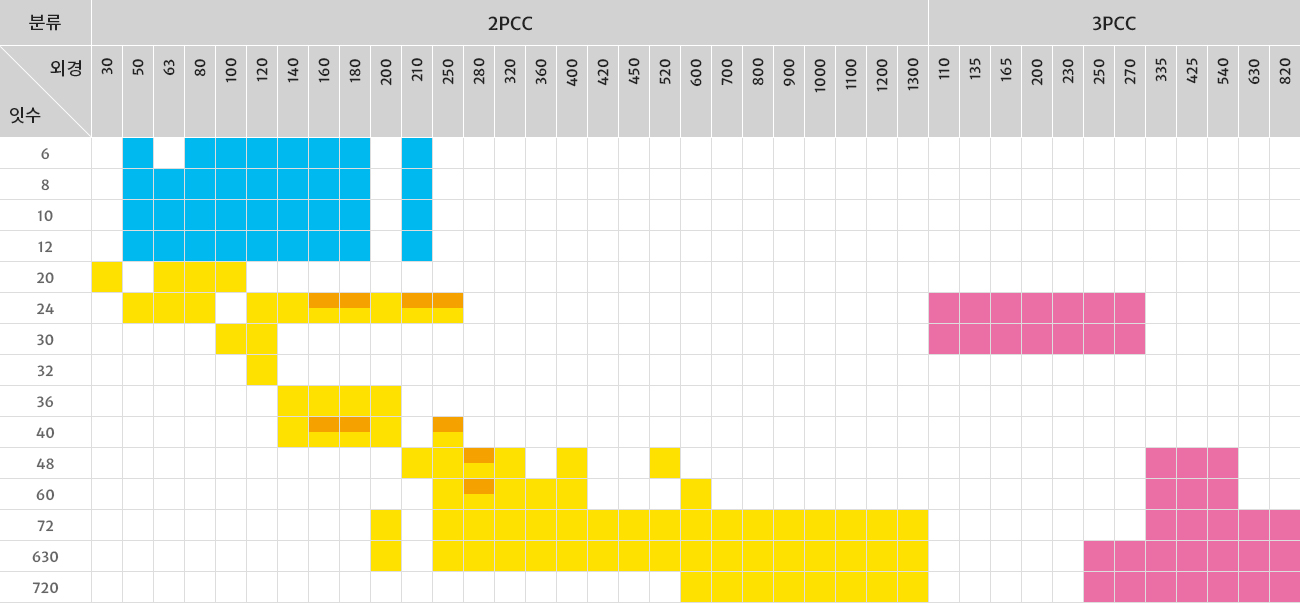
Standardization of number of teeth 6-720T and outer diameter φ50 to φ1500. Customized dimensions according to purpose and use.
It is superior in impact resistance and high stiffness by processing high grade (Chrome Molybdenum) steel and high heat treatment.
Guarantee of high restoration at the same gearing position ±5.0 seconds(precise), and division accuracy at 4 positions for ±3.0 seconds(super-precise) in case of 90º division.
DLC Co., Ltd. conducts strict quality inspection on all products and processes to guarantee long-term quality.

| 2PCC | 3PCC | ||
|---|---|---|---|
 |  |  |  |
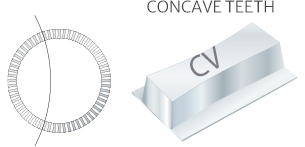 | 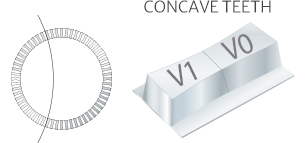 | ||
| Classification | Type | Outer diameter, Number of teeth | Features | |
|---|---|---|---|---|
| 2PCC | M | 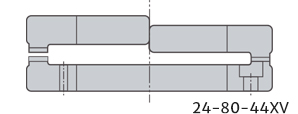 |
|
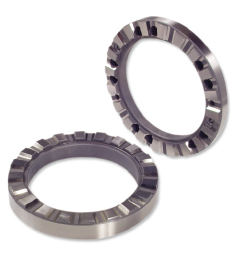
It emphasizes restoration and has more than 70% restoration. It is used for turret and work exchange in the field of small precision machinery. |
| S | 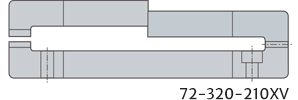 |
|
It is the most common type and is used for the partitioned table of machining center that requires division accuracy, as well as NC lathes and turrets that require restoration precision. It has excellent compatibility so that it is used for pallet change. | |
| S | 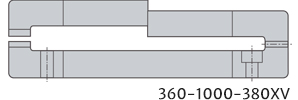 |
|
It is called a large curvic. It is used to determine the division position of large machining centers or the machines. There are many sets of exchanges whereas only one side is rarely used. | |
| W | 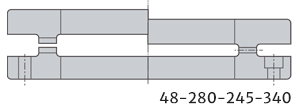 |
|
It is called releasing CURVIC. It can enlarge the inner diameter of tooth and the diameter of CLAMP CYLINDER. It is used for large TURRET. | |
| 3PCC | T |  |
|
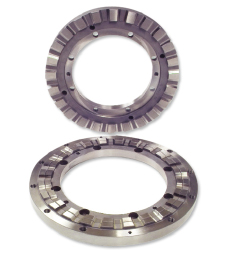
It is called 3PIECE CURVIC. It is used to rotate the WORK of heavy workpiece without floating during rotation. SET exchange is the principle, and its compatibility is less than 2PCC. |
| Item | Precision | Super Precision | Description | |
|---|---|---|---|---|
| Tooth contact | Whole teeth contact | Over 80% | Over 90% |  Check the condition in which the tooth is closely meshed with the standard
CURVIC COUPLING (GAUGE for Inspection). Since the length of the tooth is at the center of the tooth, about 50% or more of the tooth width is the default.
There should not be two consecutive teeth that do not mesh with the whole teeth, and more than 80% of the teeth surface are in uniform contact. Check the condition in which the tooth is closely meshed with the standard
CURVIC COUPLING (GAUGE for Inspection). Since the length of the tooth is at the center of the tooth, about 50% or more of the tooth width is the default.
There should not be two consecutive teeth that do not mesh with the whole teeth, and more than 80% of the teeth surface are in uniform contact. |
| Contact between tooth and tooth | Over 50% | Over 50% | ||
| when in contact | Flat surface vibration | 0.02 | 0.01 | It check the RUN OUT status in the DIAL GAUGE after closely meshing with the reference CURVIC COUPLING (gauge for inspection) |
| External diameter vibration | 0.02 | 0.01 | ||
| Division accuracy | 5'' | 3'' | Max cumulative error when it is divided into 4 | |
| Combined thickness | ±0.10 | ±0.05 | The distance between the mounting surfaces when 凹 tooth and 凸 tooth are meshed | |
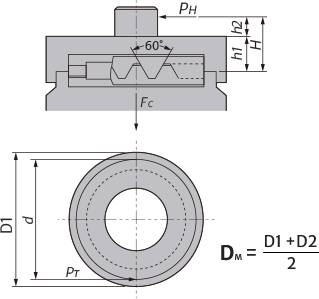
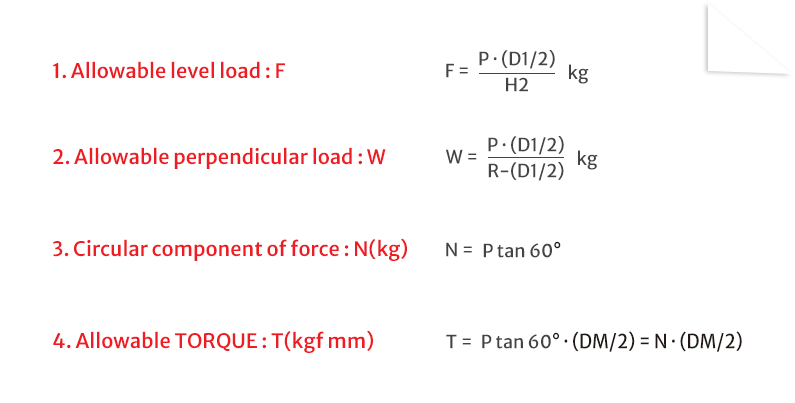

As it can obtain large Camping force with sufficient stiffness, it is optimized for the partitioned table of MACHINE CENTER for medium machining and high torque transmission, but the allowable load varies depending on the size of the CURVIC COUPLING.
Since it varies depending on the allowable cutting load, allowable torque and clamping force, you need to select it according to the application in the above calculation formula.